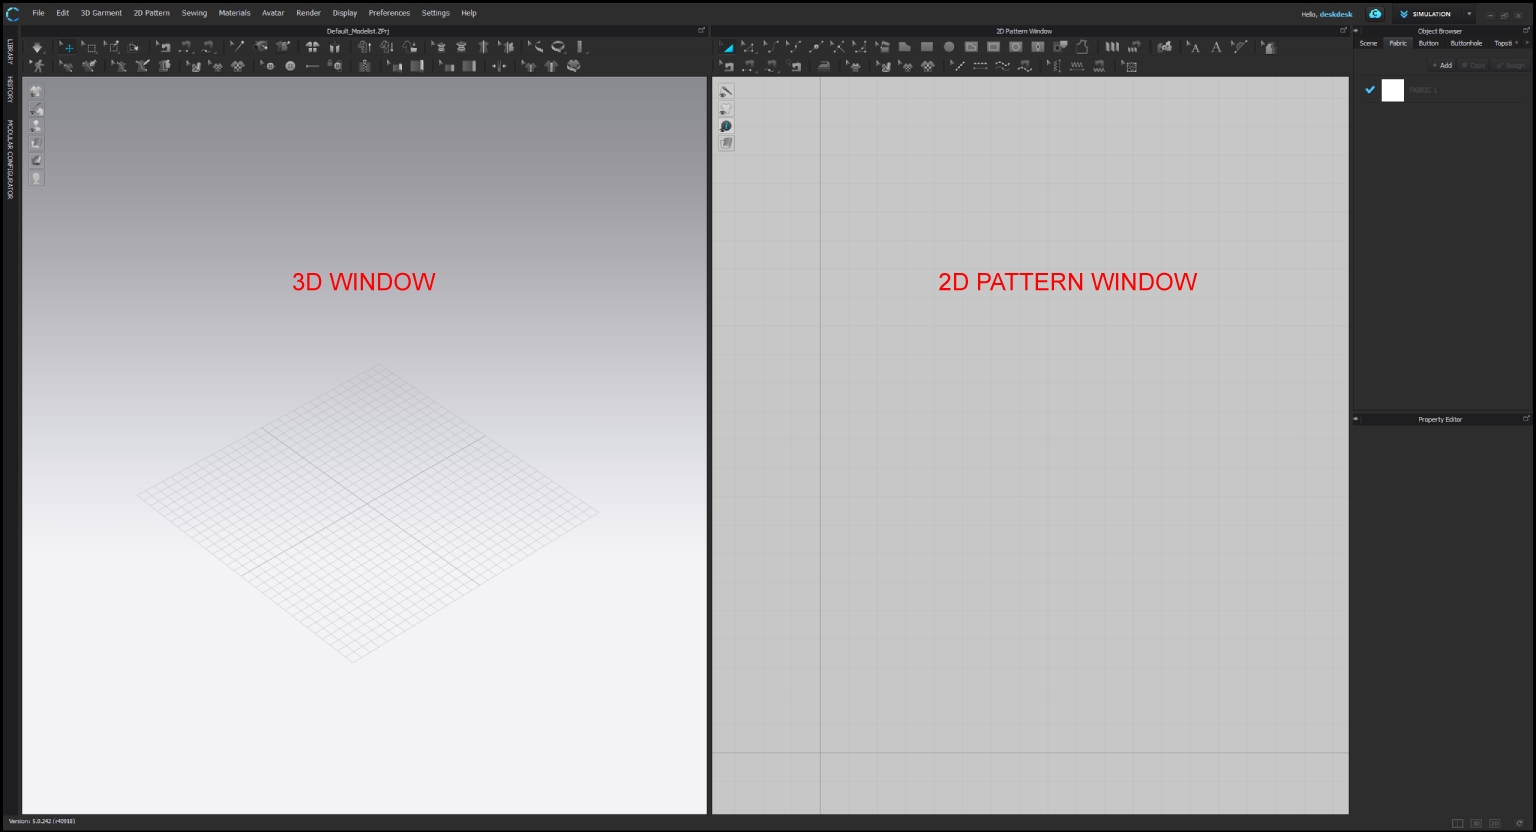
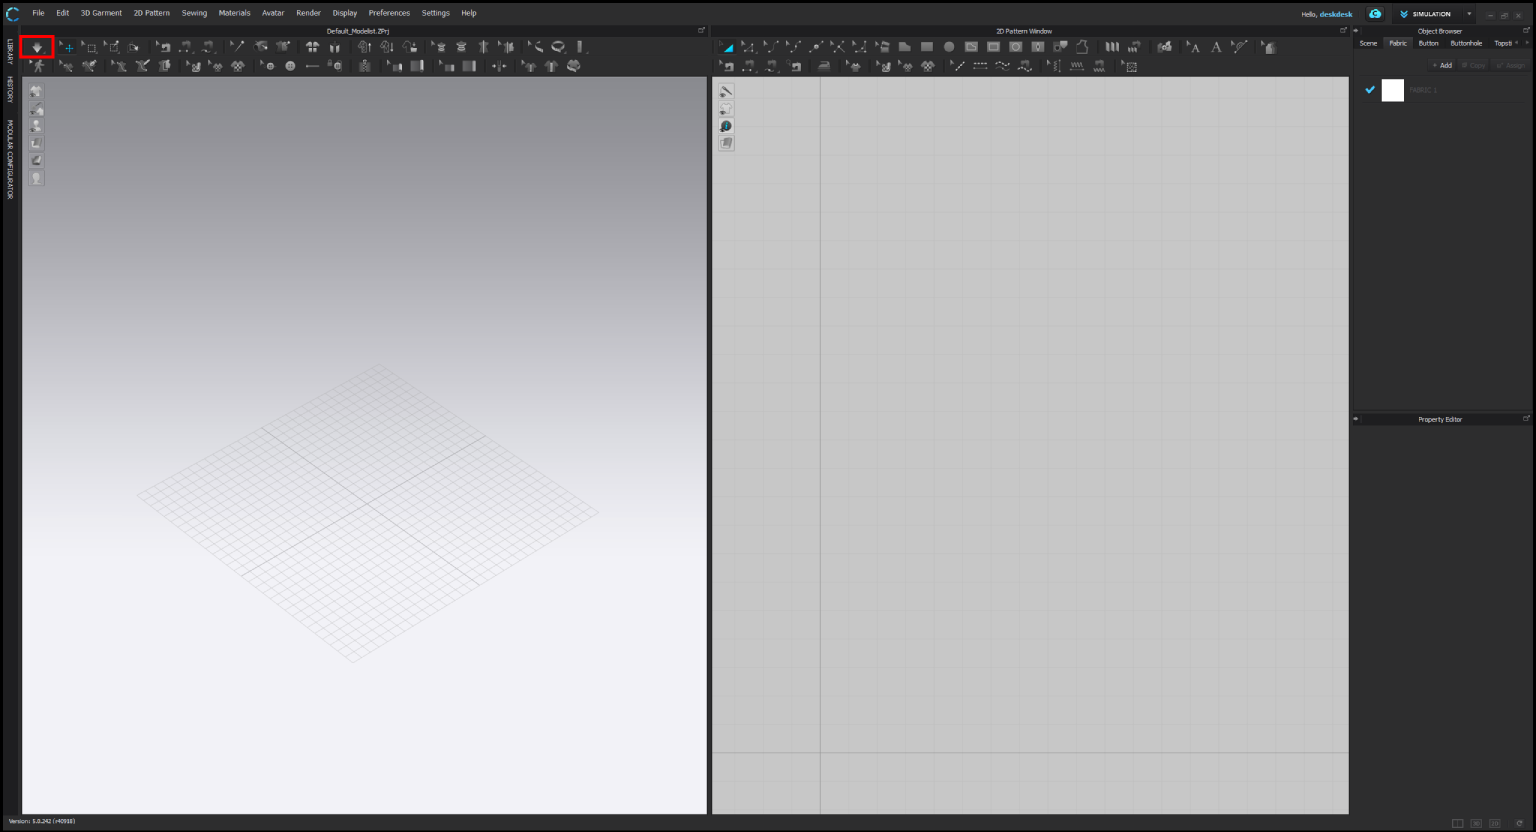
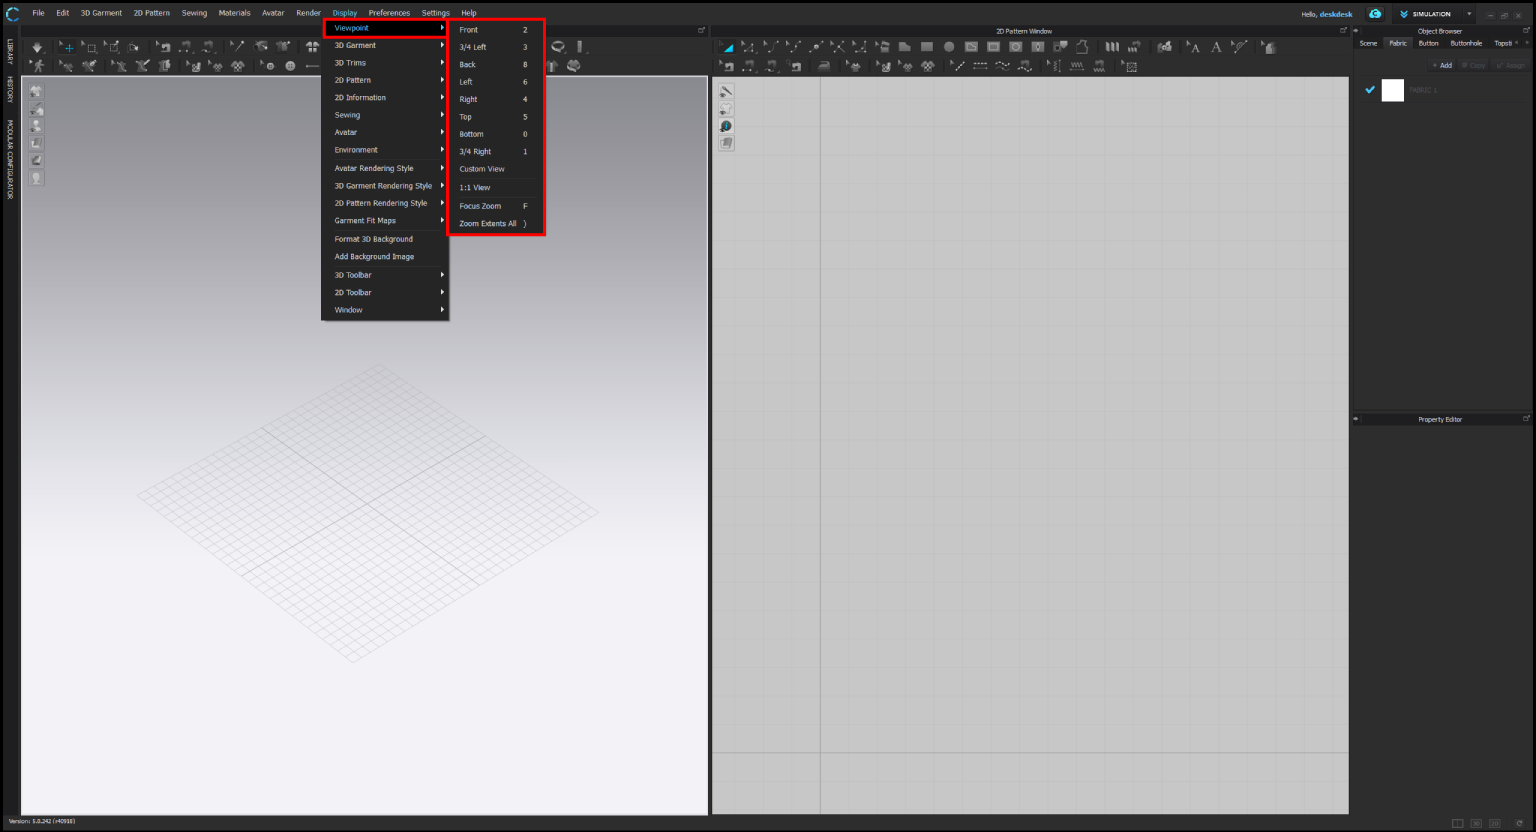
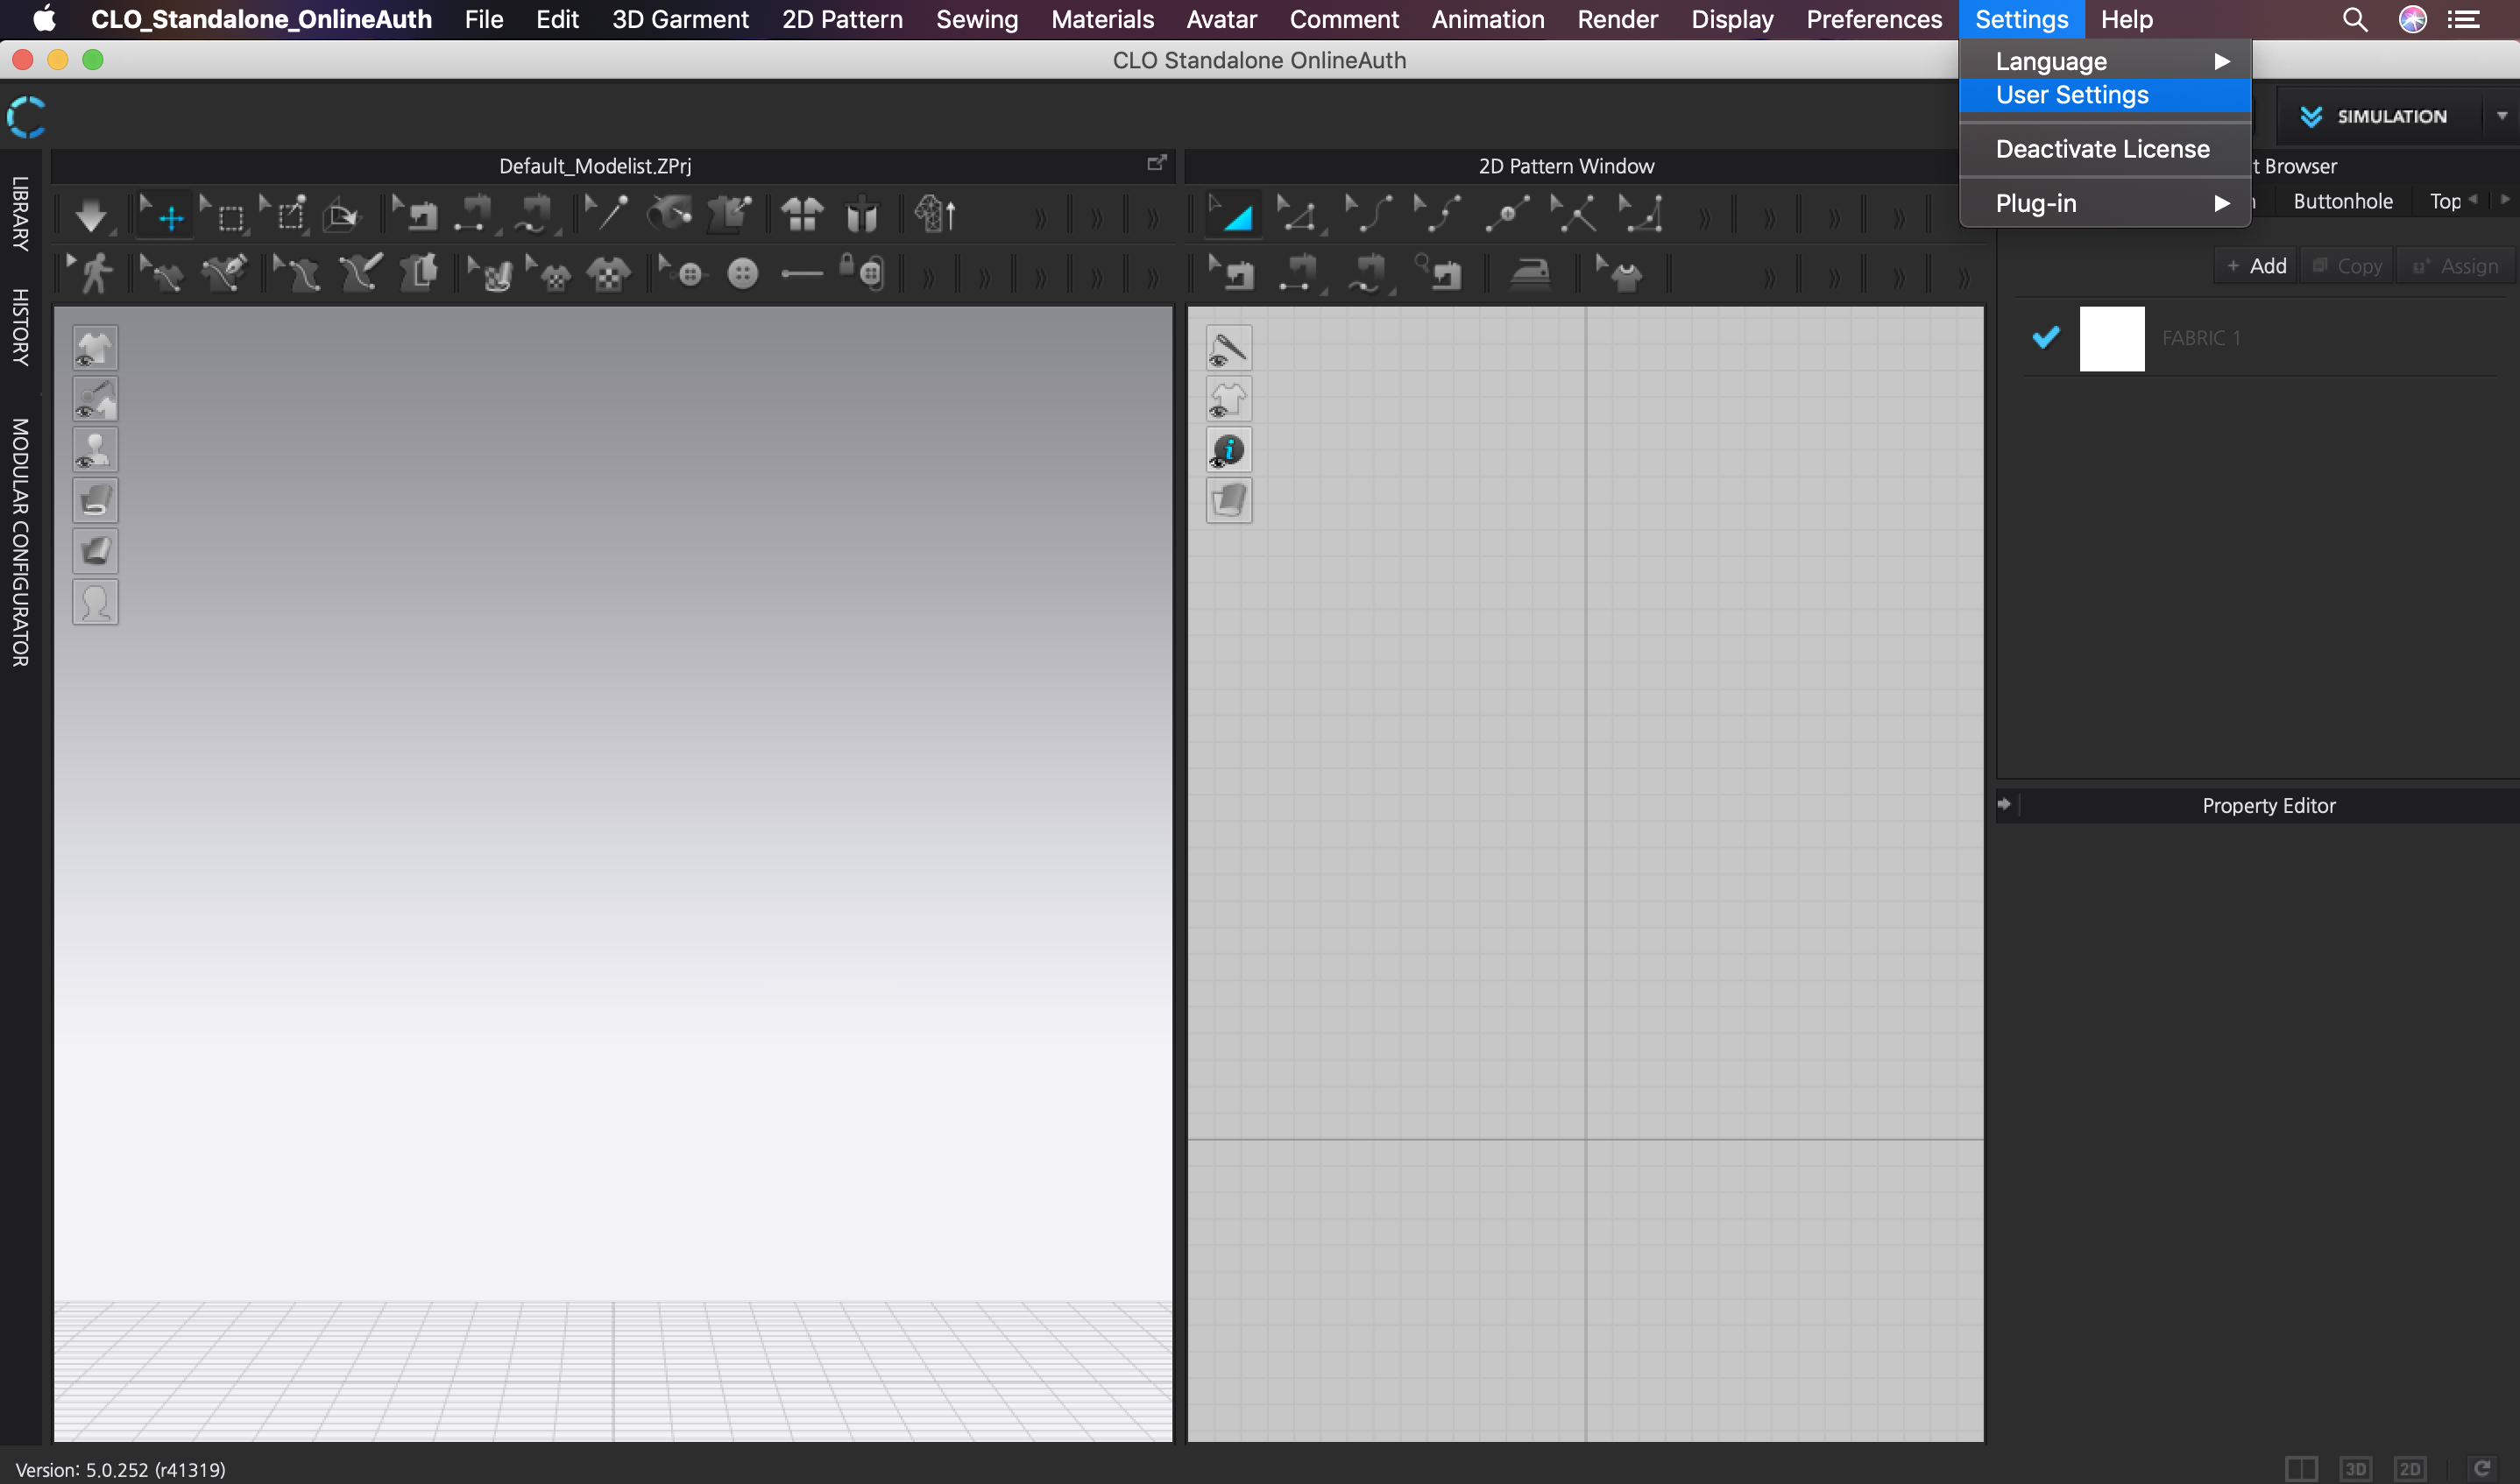
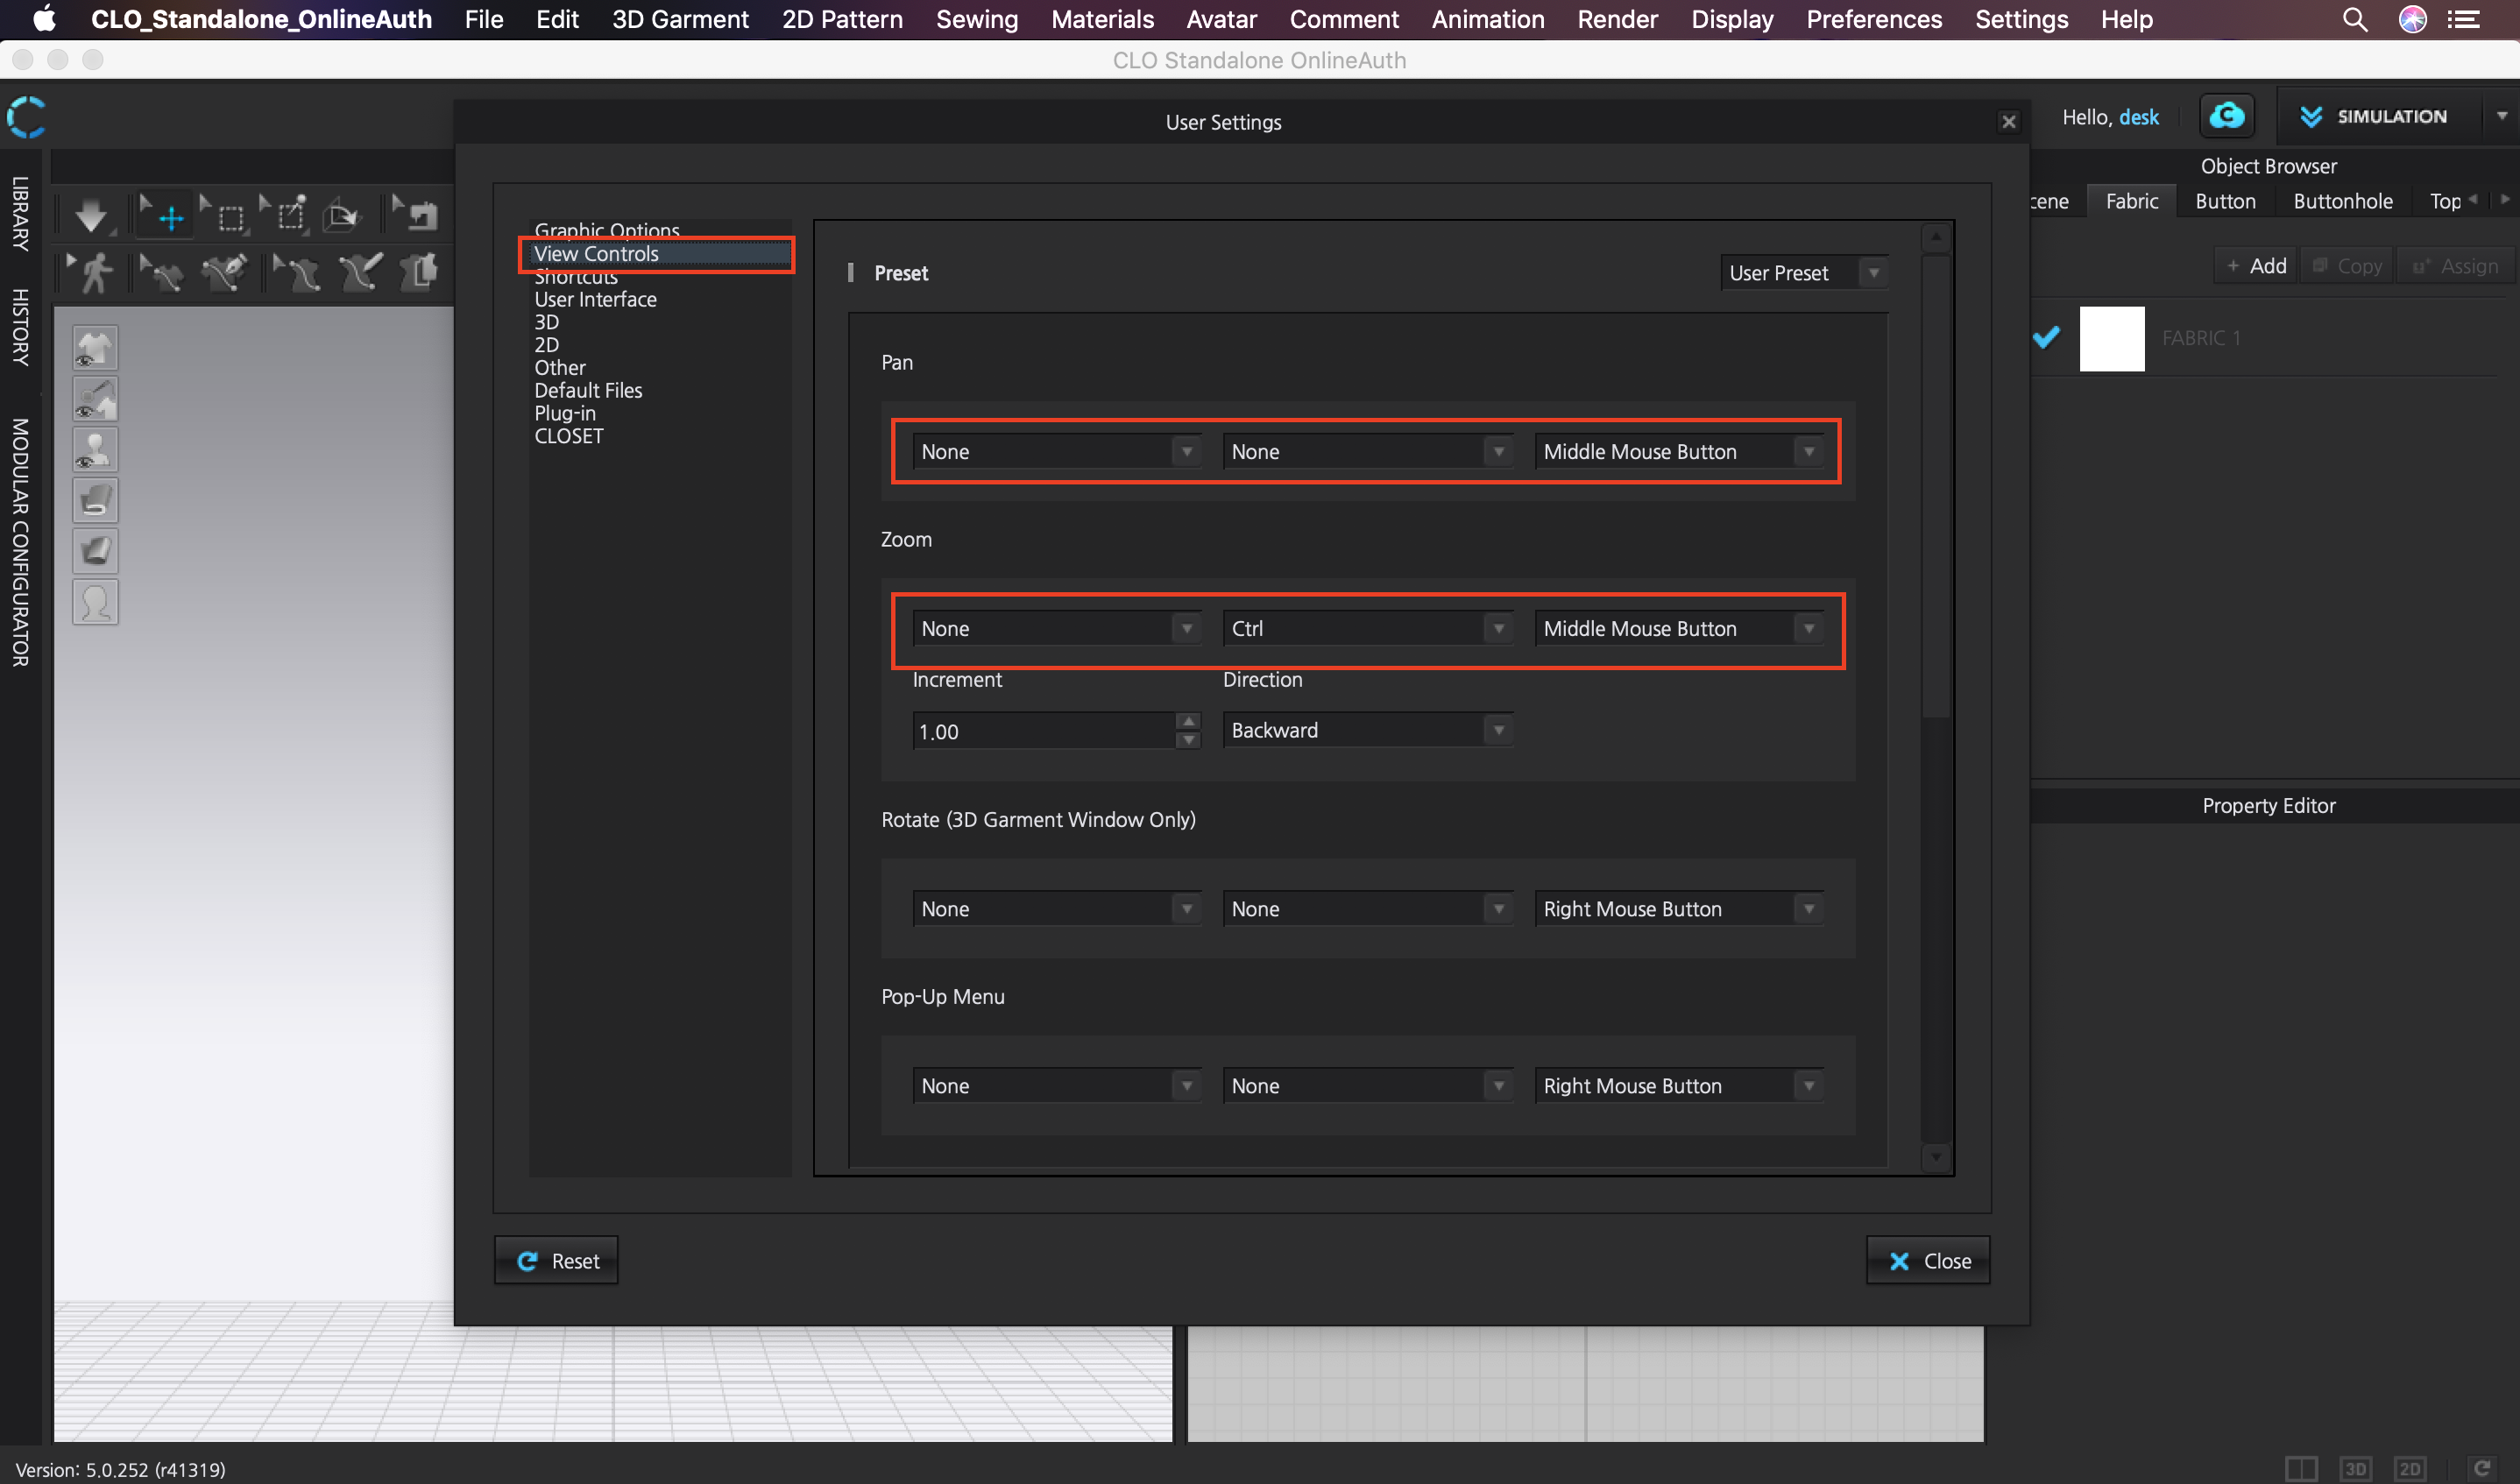
1. Navigation.


1. Make sure that your shapes are closed curves in Rhino. The simplest way is to Dupborder your unfolded, flat surfaces.
2. Move your closed curve unfold to 0,0.
3. Export to Illustrator, scale 1:1
4. In Illustrator, open your file, select all the shapes, then go to Object > Artboard > Fit to Selected Art.
5. Convert units to mm.
6. Save
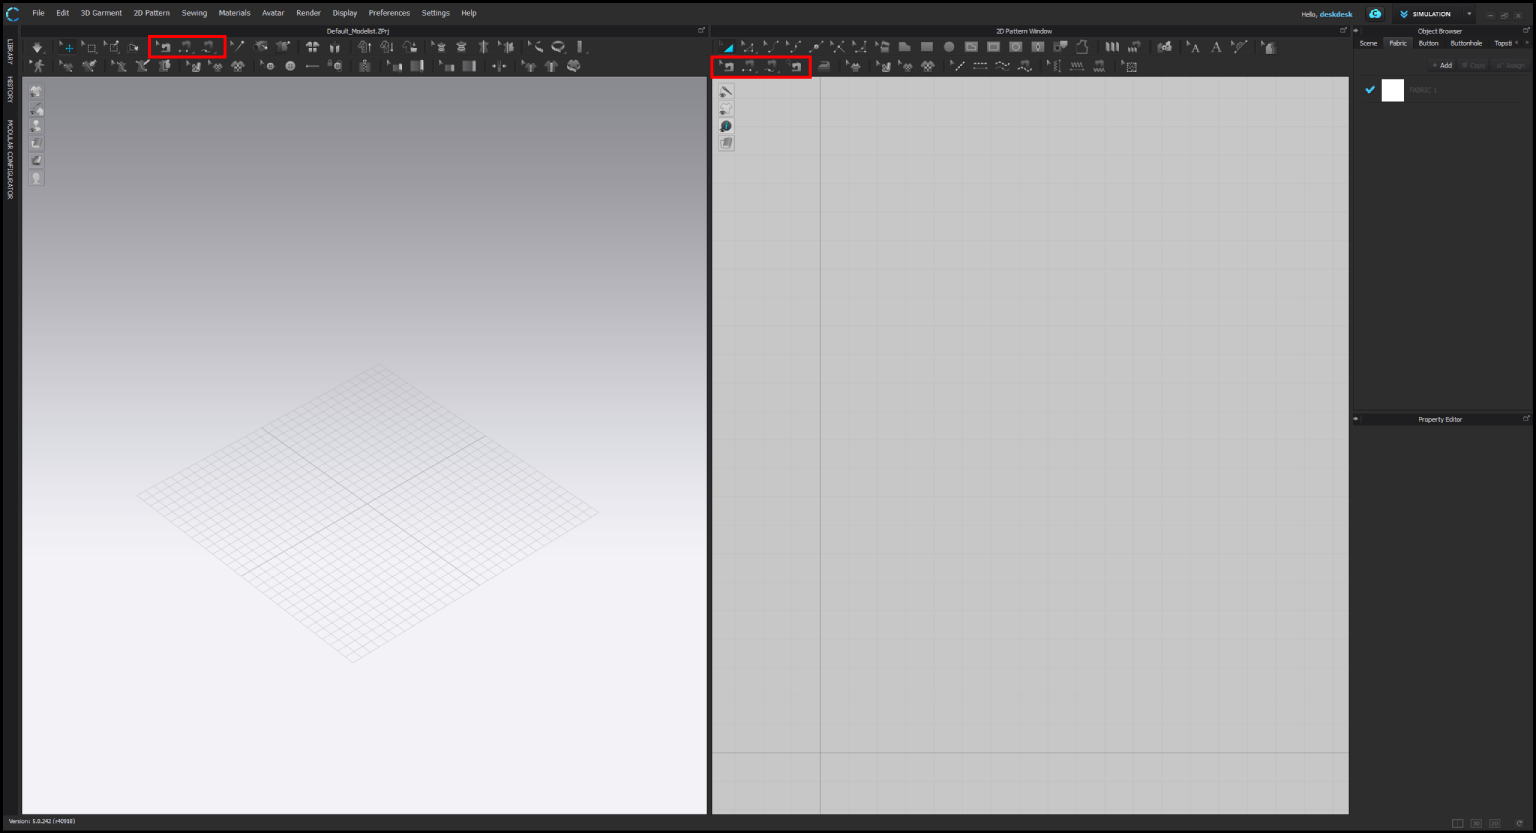
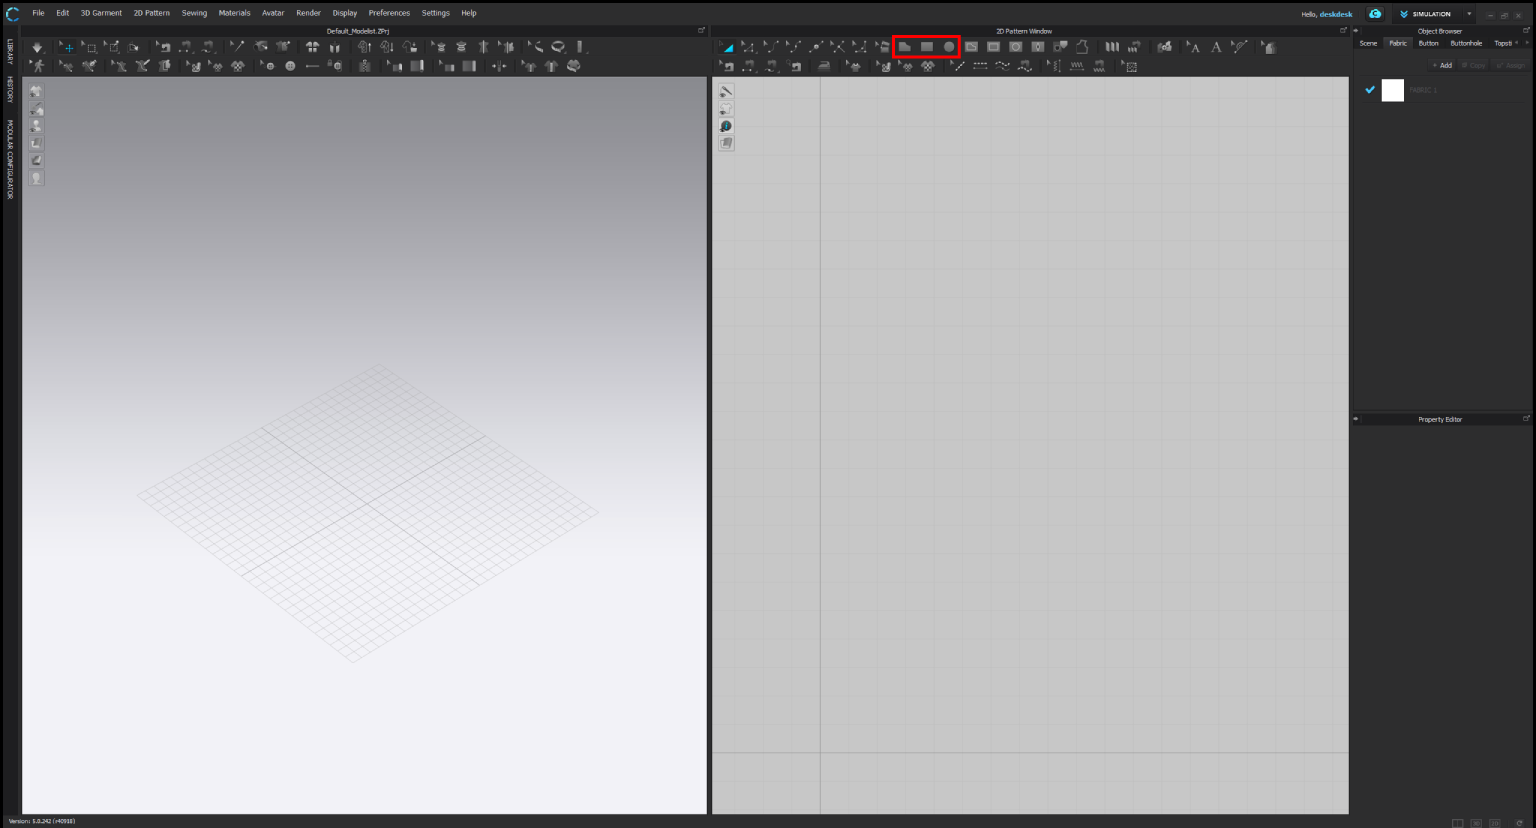
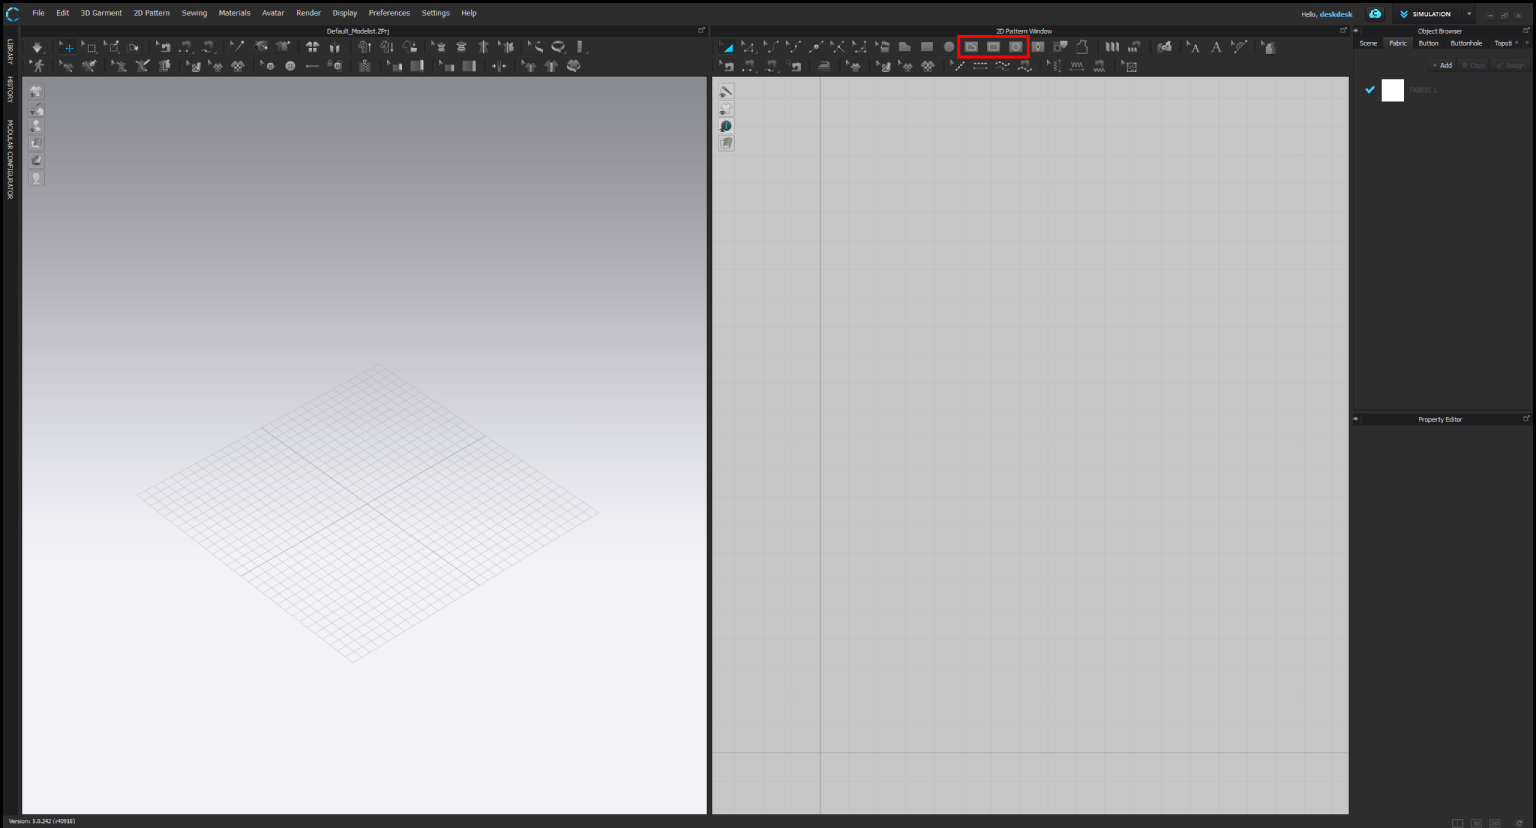
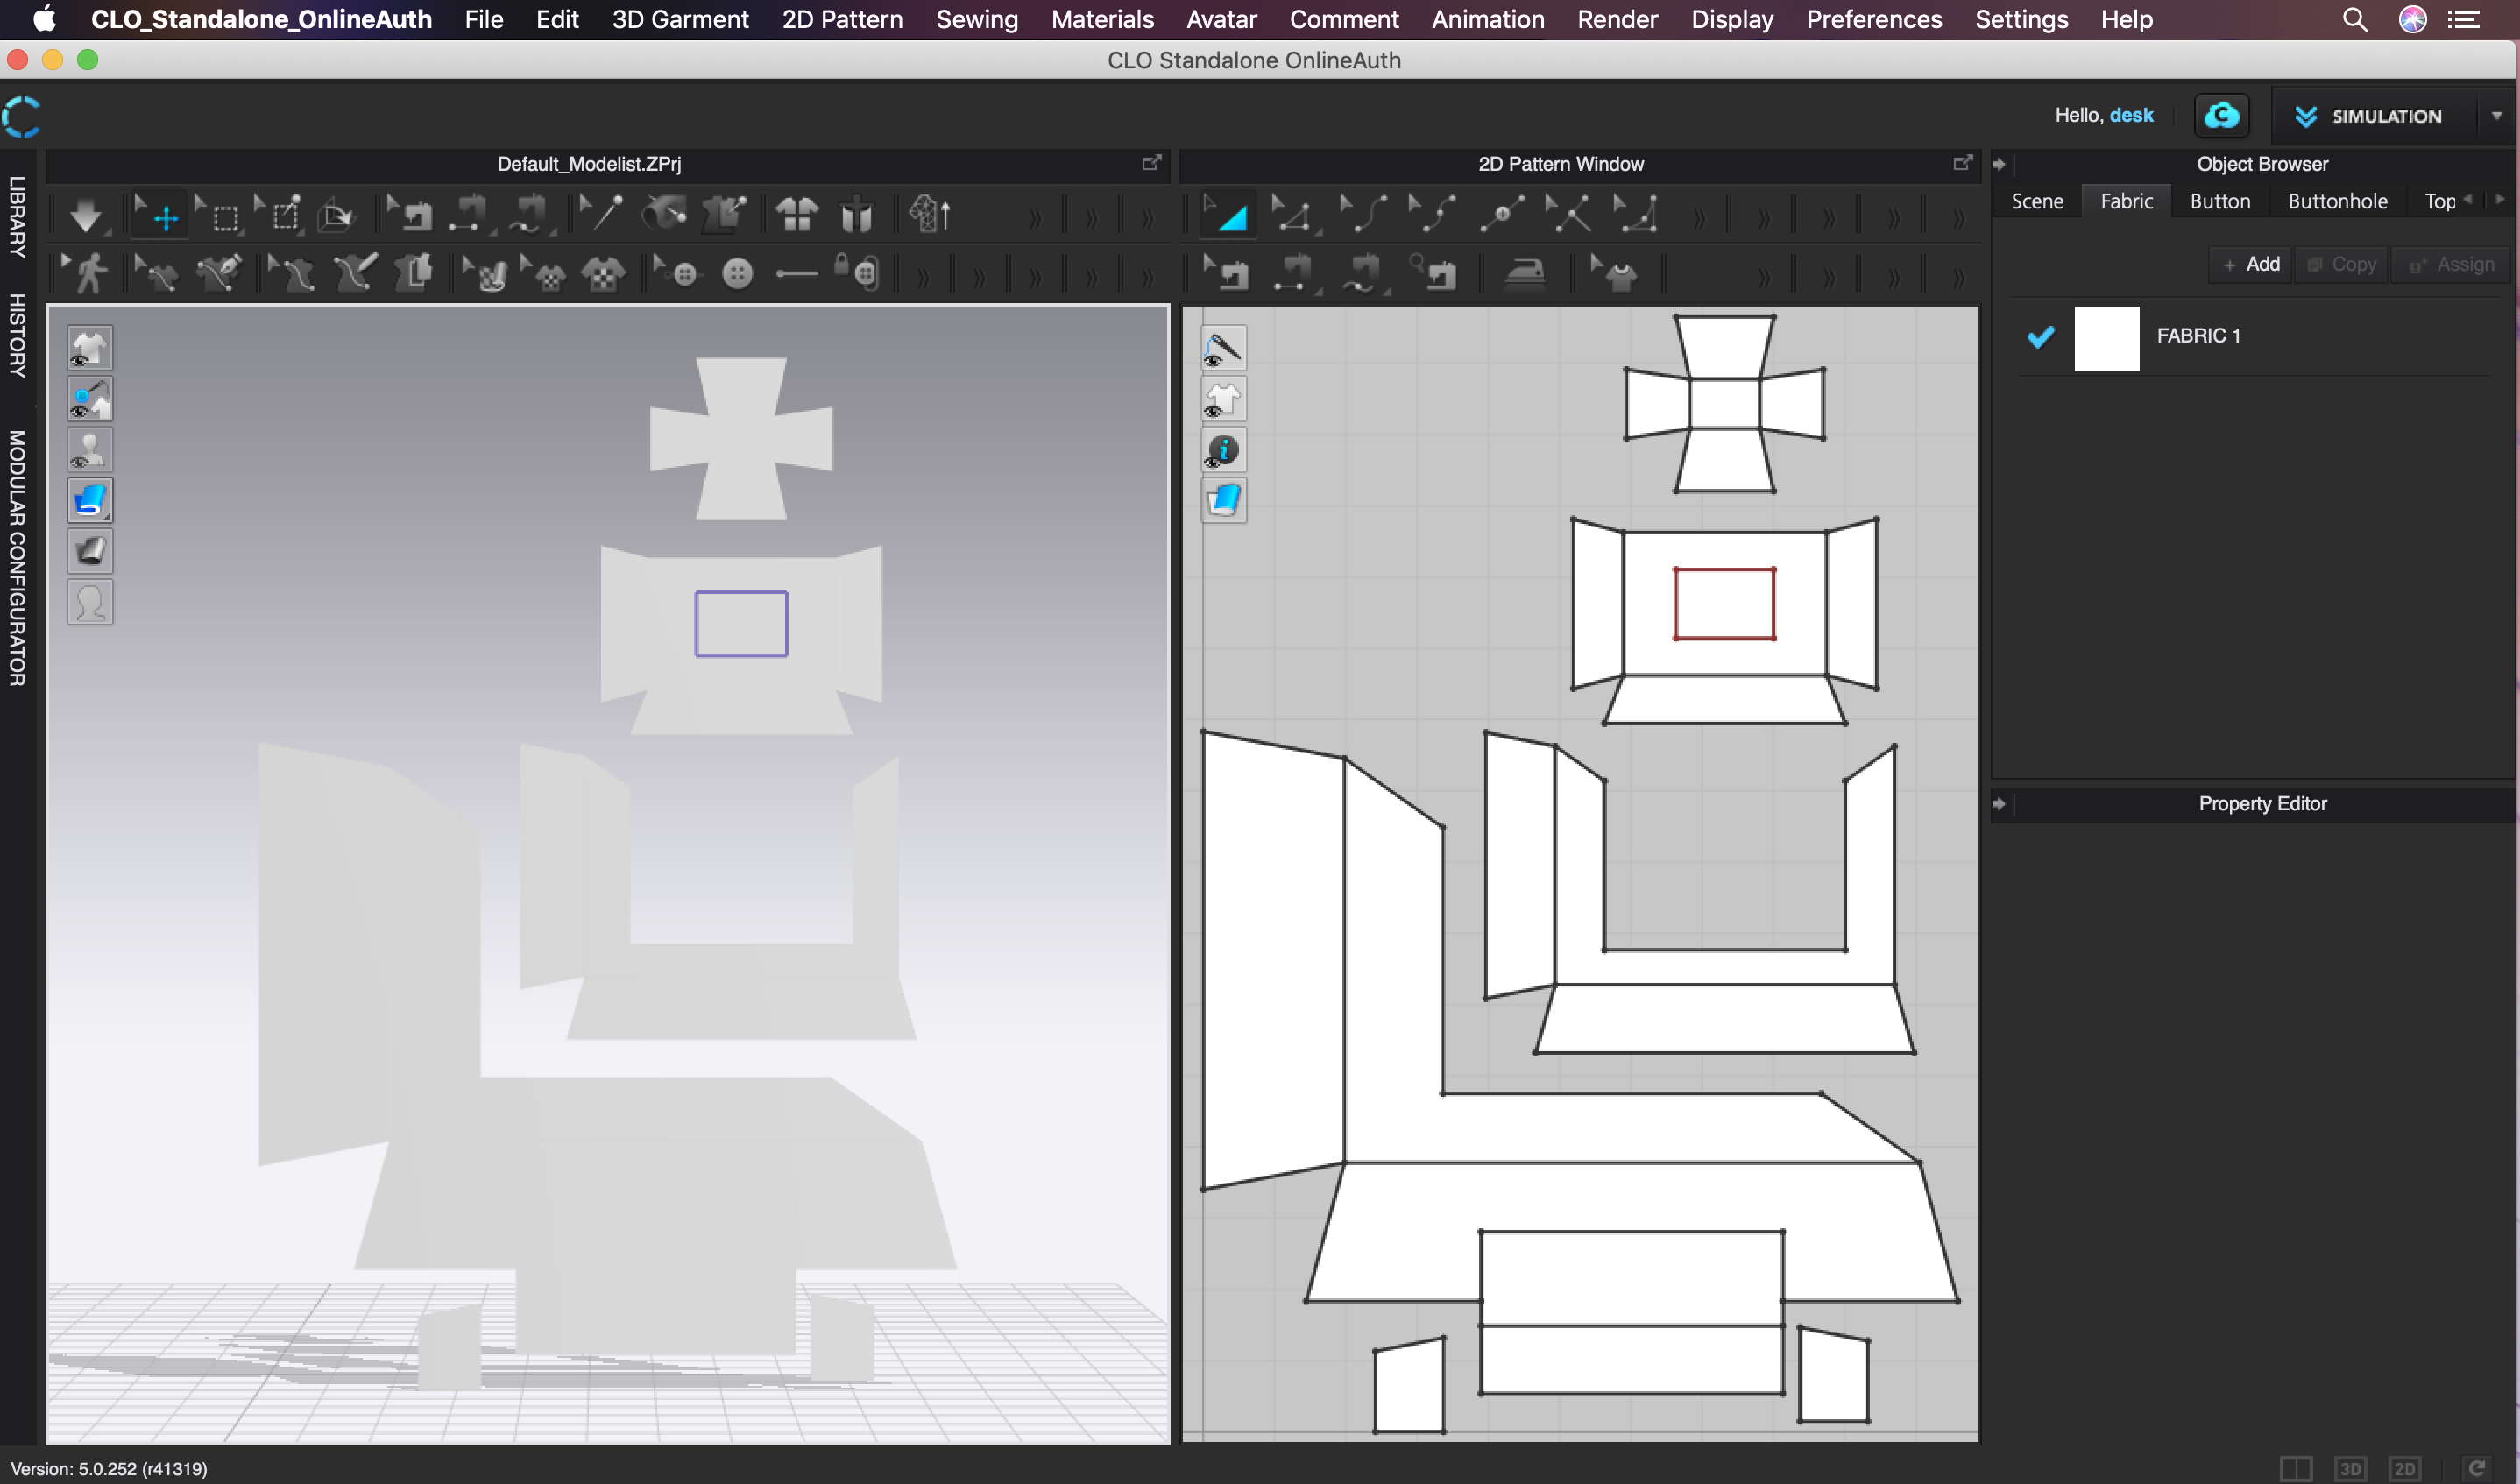
3. Import to CLO


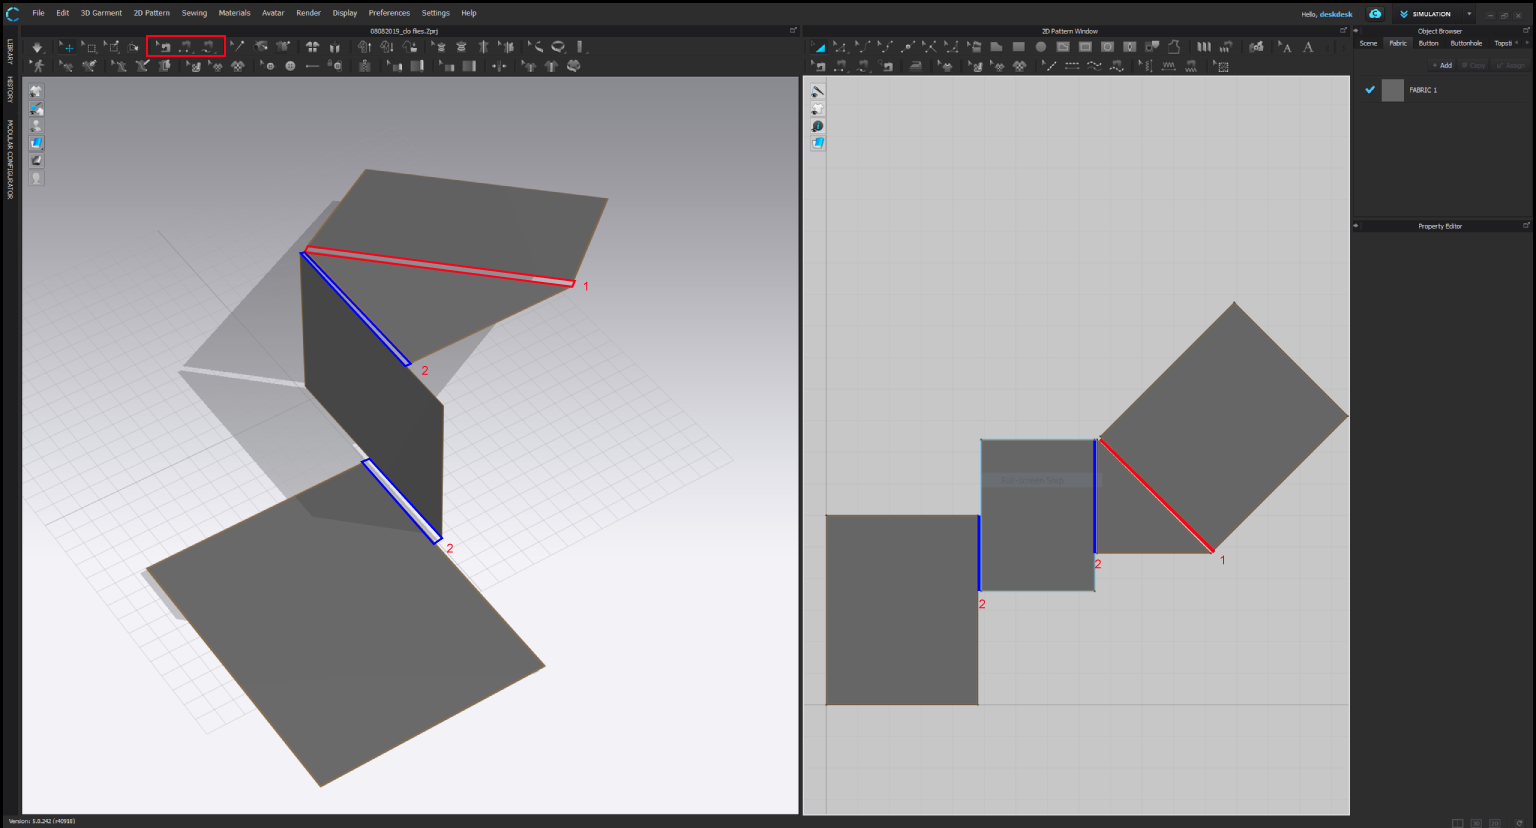


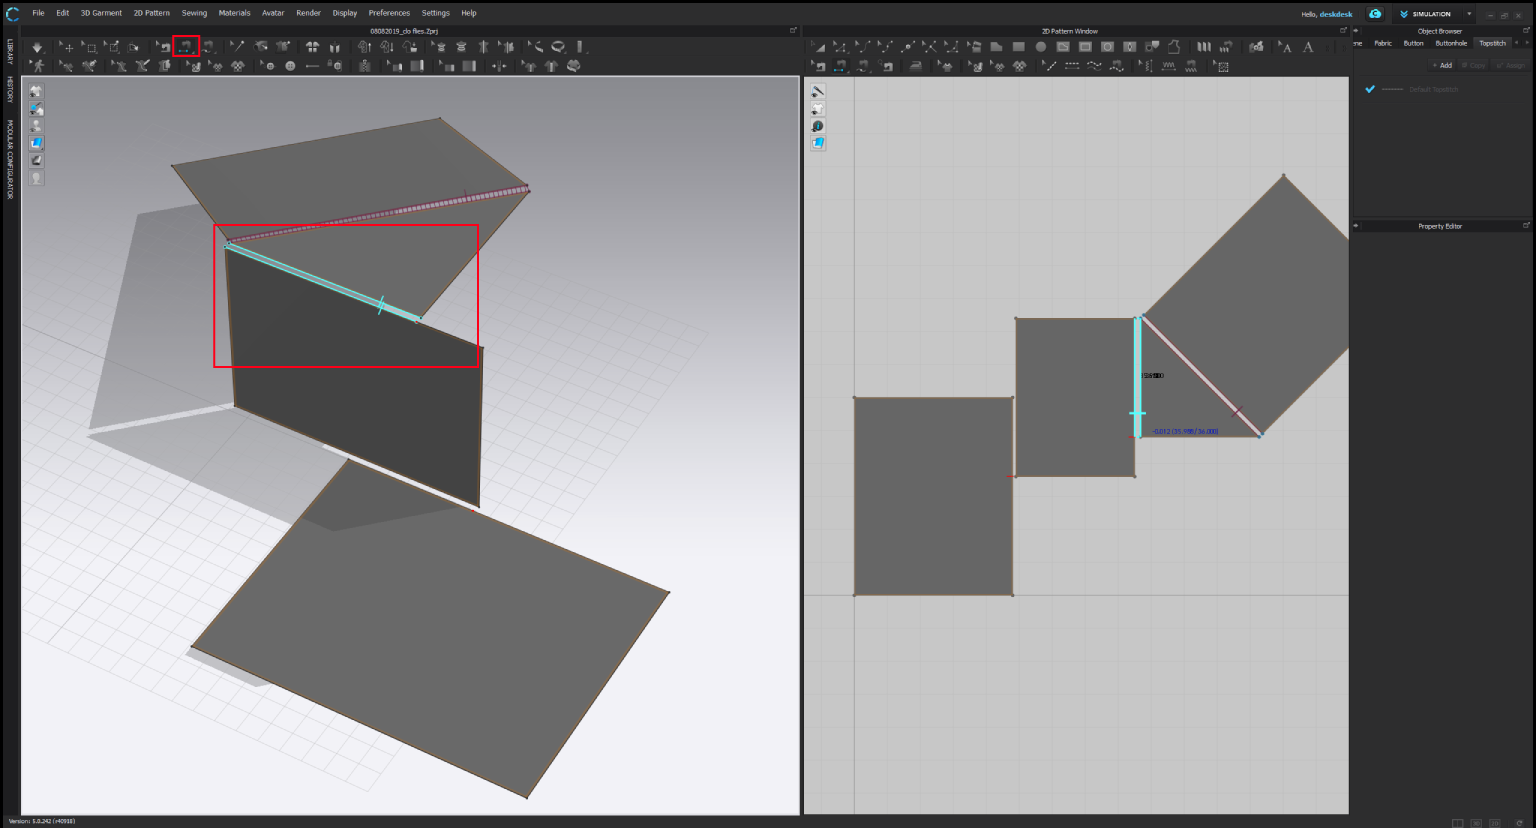


Taping


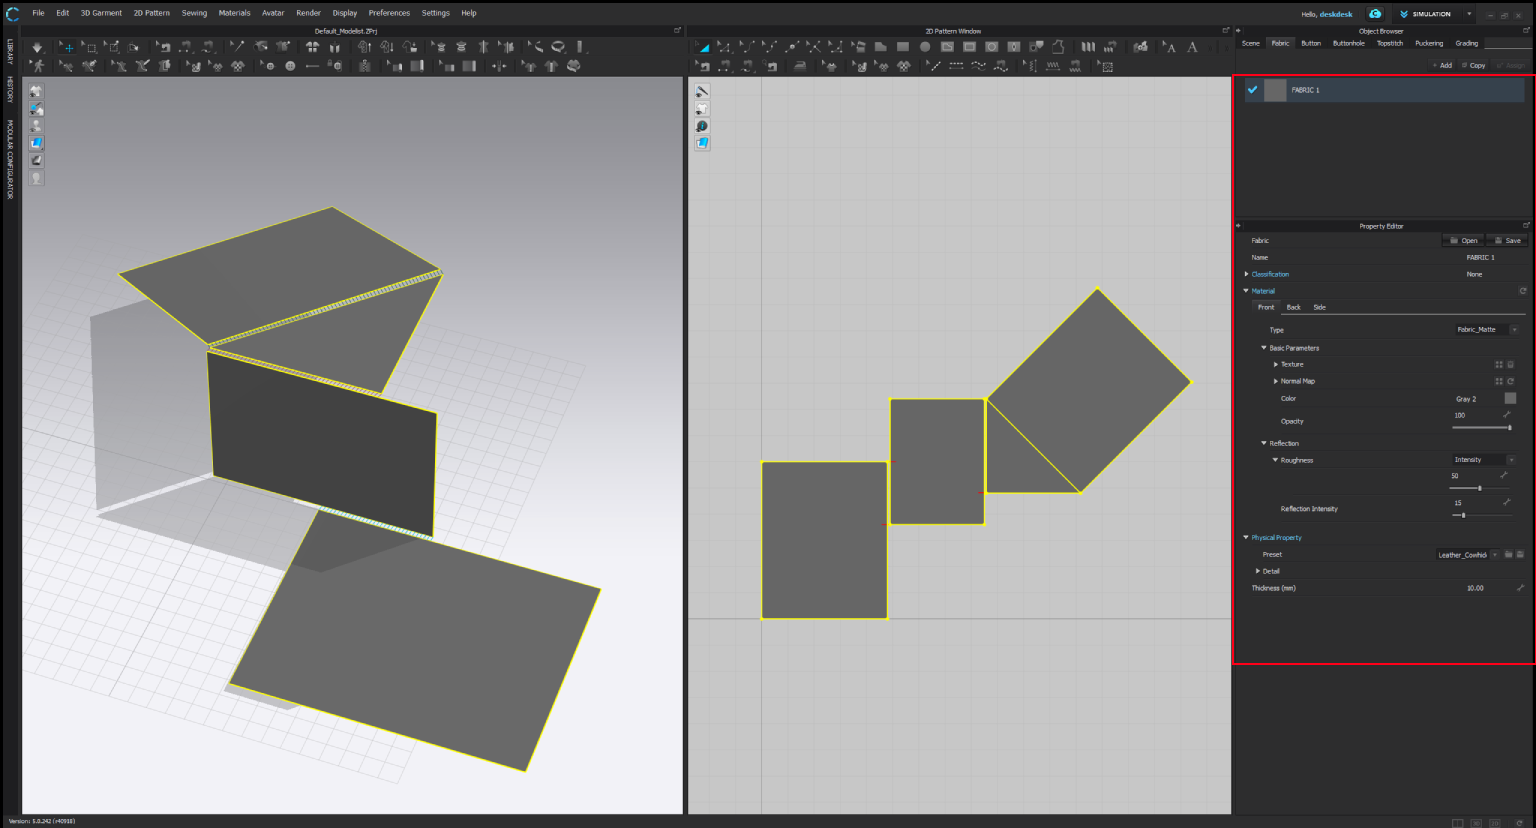


Kraft Paper
dull, medium brown, 1.00 mm thick
performs like kraft paper
dull, medium brown, 1.00 mm thick
performs like kraft paper
Reinforced Paper
semi dull, beige, 10.00 mm thick
performs like thickened reinforced paper
semi dull, beige, 10.00 mm thick
performs like thickened reinforced paper
Waxed Paper
reflective (high), dark brown, 5.00 mm thick
performs like waxed paper
reflective (high), dark brown, 5.00 mm thick
performs like waxed paper
Smooth Flexible Paper - Thick
reflective (high), light gray, 40.00 mm thick
performs like thick flexible foam or silicone
reflective (high), light gray, 40.00 mm thick
performs like thick flexible foam or silicone
Smooth Flexible Paper - Thin
dull, yellow, 20.00 mm thick
performs like thin flexible foam or silicone
dull, yellow, 20.00 mm thick
performs like thin flexible foam or silicone